Windows Update Error Code 80072ee2 – Fix

Our page will help you solve the Windows Update Error 80072ee2 on your PC. This Windows Update Error 80072ee2 commonly occurs with Windows 7 updates.

Windows Update Error 80072ee2 is yet another Windows error that gets displayed when the your OS is having problem installing new updates. The issue is usually caused by corrupt files in your system or when some of the updates get stuck. Similar errors, that you may encounter are 8024400A and 8024400D. The method for fixing them is the same as it is for code 80072ee2. This is usually not a big problem and can be easily solved without the need to contact an IT professional. Just follow our guide and see if this fixes the problem for you.

Windows Update Error 80072ee2 – the Fix

First thing’s first: before you proceed with our guide, make sure that you have a steady internet connection, because your PC is going to need it so as to be able to connect to the Windows servers for the new updates. In fact, if your internet connection hasn’t been reliable, it might have been what has caused the error in the first place. Unless updates are fully downloaded and installed, various errors may occur and this could be one of the possible reasons for error code 80072ee2, code 8024400A or code 8024400D errors.

Now, onto the problem solving part – firstly, use the WinKey + R combination on your keyboard. In the resulting window labeled Run, type services.msc. Click OK so that the services console opens.

1-4

In the services window single out the Windows Update service, right-click on it and select Stop. This needs to be done, so that the error can be fixed without it occurring again. Later we will return to this service and start it again.

2-5

Now, once again use Winkey + R and this time type in C:\Windows\SoftwareDistribution (you can copy-paste the line from here). Then hit Enter.

4-3

A folder will open – delete all of its contents and go back to the services console. Once again locate Windows Update, right-click on it and this time select Start.

5-3

3-4

Now we will have to access the Registry Editor. To do that once more open the Run window. This time type regedit and click on OK. You may be asked whether you want to allow the Registry Editor to make changes on your PC. You can that – click on Yes.

6-2

In the resulting window navigate the following path: HKEY_LOCAL_MACHINE\SOFTWARE\Policies\Microsoft\Windows\WindowsUpdate

Once you do that, you should be able to see the keys WUServer and WUStatusServer located in the right section. Right-click on them and select Delete.

7-1

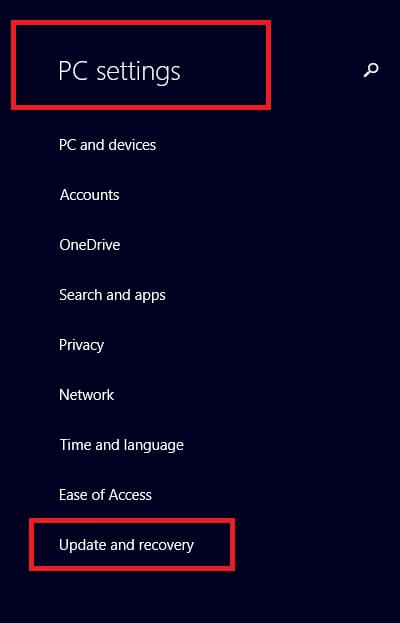
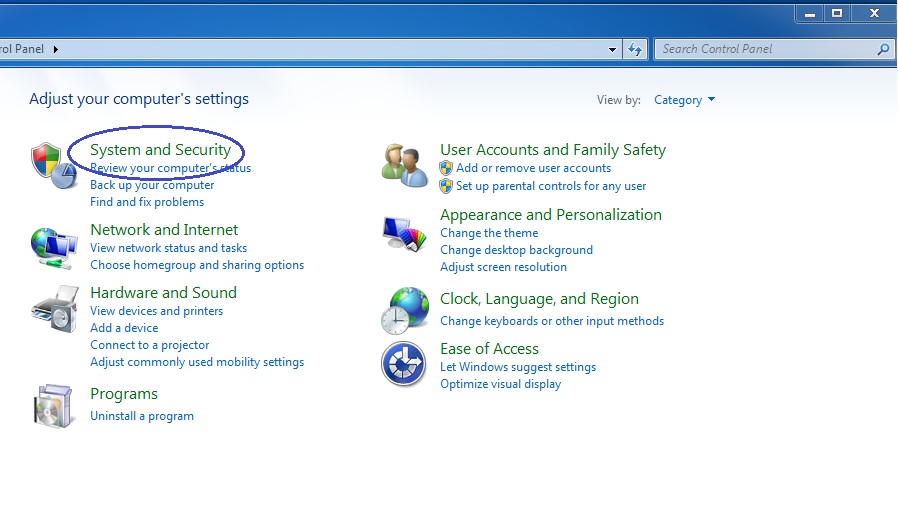
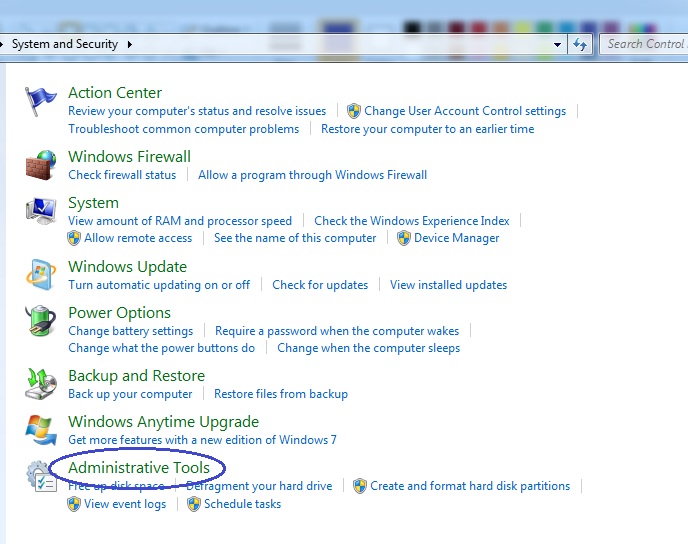
After doing so, go back to the services console and double-check whether Windows Update is still running (Step 1 of this guide). If not, make sure that you start it. This is important to remember, since if you do not start the Windows Update service again, your PC will stop receiving updates altogether and may begin to misbehave or become vulnerable to online threats. Thus, always make sure that the service is working. If you want to customize your update settings so that Windows doesn’t automatically download updates, go to Control Panel>System & Security>Turn Automatic updating on or off. If you travel regularly or don’t have stable internet connection at all times this may be a good solution to make sure your PC is updated only when you have stable internet,

Did we help you solve Windows Update Error 80072ee2? Is all working OK? If you have any questions and/or feedback, feel free to share your thoughts in our comment section below. 

Windows Update Error 80244019 – Fix

This guide will help you deal with Windows Update Error 80244019. This is also known as error code 80244019.

How does the Windows 7 Update Error 80244019 occur?

Users have frequently been reporting a certain issue with Windows, namely Windows 7 Update Error 80244019. It has to do with Windows being unable to install updates due to something blocking them and stalling the process. If you have come across this error, you have probably seen messages from Windows telling you that certain updates could not be installed and asking you to help out by installing them manually. At this point most people will ask themselves – how to do that? Where to begin? Updating Windows manually is really a lot of errors and in this article we’ll try to help you avoid all that hassle. We have summarized two ways to deal with the problem, both of which are described in a simple and easy to follow manner. If after the application of the first fix (it may seem dull, but it will get the job done most of the time) you are still facing the same Update Error 80244019 – don’t worry, just proceed to apply the steps from the second one and upon its completion the issue will have been resolved.

Windows Update Error 80244019 – the Fix

Fix 1:

  1. First off, go ahead and access your PC Settings. You can find them in the Start menu and they will most likely be represented by a little cogwheel icon.
  2. Once you have clicked on the PC Settings, click on Update and recovery (typically located at the bottom of the listed settings).                                                             1-3
  3. Now that you’ve accessed the Update and recovery settings, click on Choose how updates get installed on the right half of the screen. 2-4
  4. You should now see two boxes that ought to be ticked. If this is so, untick the second box beside the words: Give me updates for other Microsoftproducts when I update Windows. Click Apply3-3

With this you will have completed the first possible fix and as soon as you’ve finished with the last step, Windows should begin to search for updates and proceed to install them, without showing the error message. IF NOT and you are still seeing Windows Update Error 80244019, please continue on to the second fix.

Fix 2:

  1. Microsoft has found that one of the things that could be responsible for you receiving the above error code and for your system not being able to install updates properly, are viruses. It can very well be that your computer has a virus installed on it (with or without your knowledge) and it is preventing updates from being implemented. Due to this cause, you will need to restart your PC in Safe Mode and run a virus scan. If your antivirus has found any viruses or other type of malware, remove those and then restart your computer again.
  2. Note that to complete these steps you must be logged on as an Administrator. In case you aren’t already, please do so before reading on.
  3. Click Start -> Control Panel -> System and Maintenance -> Administrative Tools.1-52-2
  4. Go to Services and double click on Background Intelligent Transfer Service.3-64-1
  5. Under the General tab, find Startup type and click on Manual under it. Click Apply.5-1
  6. Go to the Log on tab and confirm that the service is enabled in every one of the hardware profiles listed.6-7
  7. After this, go to the General tab again and click on Start, then OK.
  8. Double click Windows Event Log in the Services window and in the General tab make sure that Automatic is selected by Startup Type.7-2
  9. After this, check Service Status to make sure the service has been started. In case it hasn’t, click Start and OK.
  10. In the Services window again double click on Windows Update.
  11. Under the General tab select Automatic next to Startup type.8-3
  12. Repeat step 9.
  13. Back in the Services window double click on Software Licensing and repeat steps 11 and 12.
  14. Close the Services window and install updates.

Let us know in the comment section below if these solutions helped clear the issue for you! Even if it didn’t please tell us what got wrong!

.Odin Ransomware Removal

This guide was create to help people remove the .Odin file virus Ransomware for free and works on all version of Window. Inside you’ll also find instructions on how to defend your PC against threats similar to the .Odin file virus Ransomware

Ransomware viruses are spreading like wildfire and their rapid evolution makes them that much more difficult to handle. These nasty pieces of programming can encrypt all your important documents that are stored on your PC and any devices attached to it and demand a ransom payment afterwards, if you want to regain access to your own files.

.Odin Ransomware

One of the latest of these malicious programs is called .Odin and it will be our focus in this article. .Odin file virus Ransomware is a spin-off of the .Locky Ransomware using a new file extension name – .Odin. We strongly recommend that you read everything, because the information that we will provide you with is essential in understanding how Ransomware viruses work, what their target is and how you can potentially deal with the threat before it is too late. Also, below you can find a guide with instructions on how to remove the nasty virus from your system. However, keep in mind that due to the devious nature and unique approach of this particular type of harmful software, it is often extremely difficult to deal with. Our guide might be able to resolve your problem with .Odin, but there is no guarantee to that.

Encryption

One of the main reasons why Ransomware viruses are so problematic is because of their unique approach. The majority of other harmful programs directly attack your system with some sort of a malicious process that most anti-virus tools are able to easily detect. In comparison, viruses like .Odin Ransomware use the method of encryption to lock your data. What’s important about this is that encryption is not an inherently malicious process. Many regular applications use this on their files. This is why most of the time if there is an encryption process running on your PC, an anti-virus program would not regard it as harmful and will allow it to continue. However, unlike the regular encryption of legit applications, if your files get encrypted by Ransomware, you will not be able to access them, since you won’t have the needed key. The hacker who uses the Ransomware also has the key that you need to open your files. After your documents have all been locked, a message pops up on your screen and you are given instructions on how to pay the ransom in exchange for the decryption key.

Crypto currencies

Most new Ransomware viruses demand the ransom payment in some cryptocurrency such as bitcoins. This enables the hacker who’s behind the virus attack to remain anonymous when being sent the ransom money. Bitcoins are extremely difficult to trace and if you choose to make the transfer, your money will be gone for good and there is little to no chance that you’d ever be able to file a lawsuit against the cyber-criminal since they get caught very rarely.

Should you pay?

We already said that there is almost no chance of taking down the hackers and bringing them to justice. This, on its own, should be one reason why you should not go for the ransom payment. Apart from that, it is important to understand that you can never know if you are actually going to get the encryption key, even if you follow all the instructions and make the payment. Additionally, if you go for that, you would further encourage the hacker to keep on blackmailing people and creating newer and more advanced Ransomware viruses. Therefore, if you have had your data locked by .Odin file virus, we advise you to seek another way to resolve your problem. One possible course of action that we advise you to take would be to try out our Ransomware removal guide. Besides, this will cost you nothing in contrast to the ransom payment.

How you can manually spot the infection

It is possible to detect the malicious process of Ransomware if you pay close attention to your PC’s behavior. A virus of this type might take quite a while to encrypt all your files since it first needs to copy all of them and afterwards delete the originals. It is actually the copies that are encrypted and not the original files. However, since the latter are deleted by the Ransomware, you’re left only with the locked copies. This malicious process might require quite a bit of system resources, which might lead to a PC slow-down. Therefore, if you notice that your machine is using unusually high amounts of CPU, RAM and free disk space for no apparent reason, shut it down and have it seen by a specialist. Also, remember not to attach any other devices to your computer since they might also get infected if there really is Ransomware.

Useful advice for the future

It is quite clear by now that Ransomware is not going anywhere any time soon. The only thing that you can do is to make sure your machine stays protected from these noxious viruses from now on. Some things that might help you increase your levels of security would be to get a reliable anti-virus program because oftentimes Ransomware programs use backdoor viruses to get in your system. Also, make sure to avoid any shady and illegal sites and only use reliable download sources when getting new software. Additionally, be careful with any suspicious e-mail messages and obscure hyperlinks that get sent to you. Last, but not least, make a back-up of your important data since this can outright nullify the effectiveness of any future Ransomware infections.

.Odin File Virus Ransomware Removal

Step1 

Reveal Hidden Files. If you don’t know how to do this, ask us in the comments.

Step 2

Start Button => Search=> Copy/Paste “notepad %windir%/system32/Drivers/etc/hosts” => Enter.

Hosts File

If you notice other IPs different from the localhost IPs – you might be in danger!

Localhost IPs

Ask for additional help in the comments.

Step 3Right click on the Taskbar => Start Task Manager.

Start Windows Task Manager

Navigate to Processes.

Processes in Task Manager

Locate any suspicious processes associated with .Odin Virus. Right click on the process = > Open File Location => End Process = > Delete the directories with the suspicious files.

Step 4Start Button => Search => Type:

  • %AppData%
  • %LocalAppData%
  • %ProgramData%
  • %WinDir%
  • %Temp%

Type in Search

Hit Enter after each new search. Check each Folder and delete recent entries.

Step 5Get Your Files Back!

The only way you can do that is by backpedaling to a moment when you were not infected. You can achieve this in one of two ways:

  • System Restore.Start Button=> Search field => Type System Restore => Enter.
    Choose a Restore Point.
    Restore Point
    Click Next until the process has been completed.
  • Google and Download a Program called ShadowExplorer. Install and open it => Choose the Drive letter (C:, D:, F:, etc.) and date you want to restore information from => Right click on the files you want restored => Export.

If you run into any trouble – ask us for help in the comments section!